Table of Contents
Background
We recently made release 23.06 GA, which included a number of updates to our content editor. The improvements will allow for more freedom and creativity when publishing content, and we will be continuously adding features to it (see roadmap below).
Editor options
The content editor allows you to take complete control of:
- Paragraph format
- Paragraph style
- Text styles
- Align
- Indent
- List
- Images
- Videos
- Tables
- Links
- Embedding code snippets
- Horizontal lines
- Emoji & Clear formatting
With this editor, we've made some changes to the functionality that users were used to, but rest assured, everything that was supported before is still supported. Please see the list of new key features and what is made available with this new editor
Key features
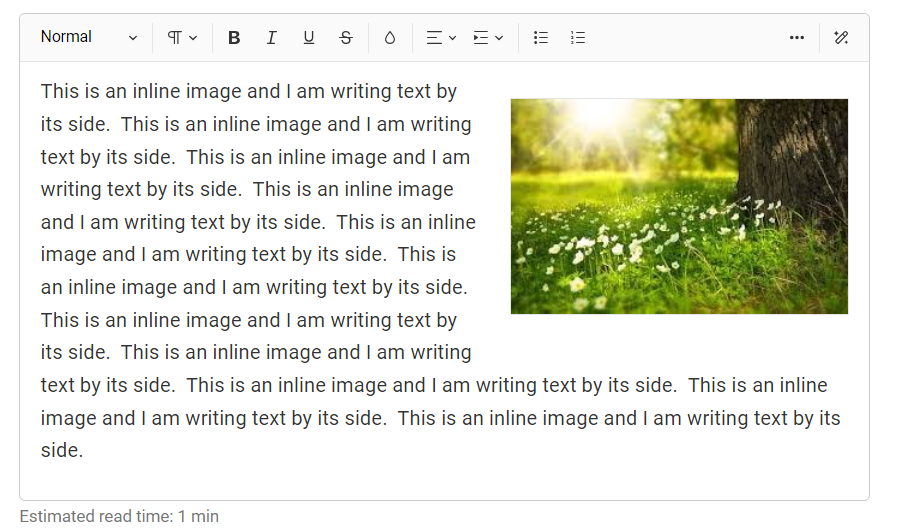
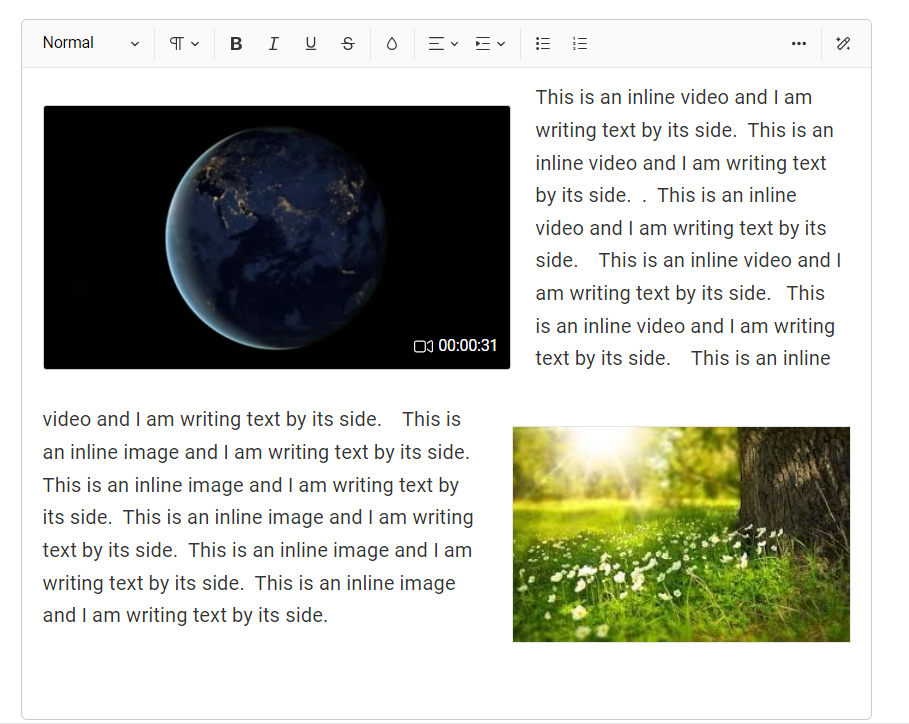
Inline images/videos and floating text
The new editor lets you include floating text and inline images around an image.

Invisible and dashed borders for tables
For tables, you can now choose to add dashed borders or invisible borders.


Note:
Use the down arrow key or any other key to move the cursor focus away from the table.Embed via URL
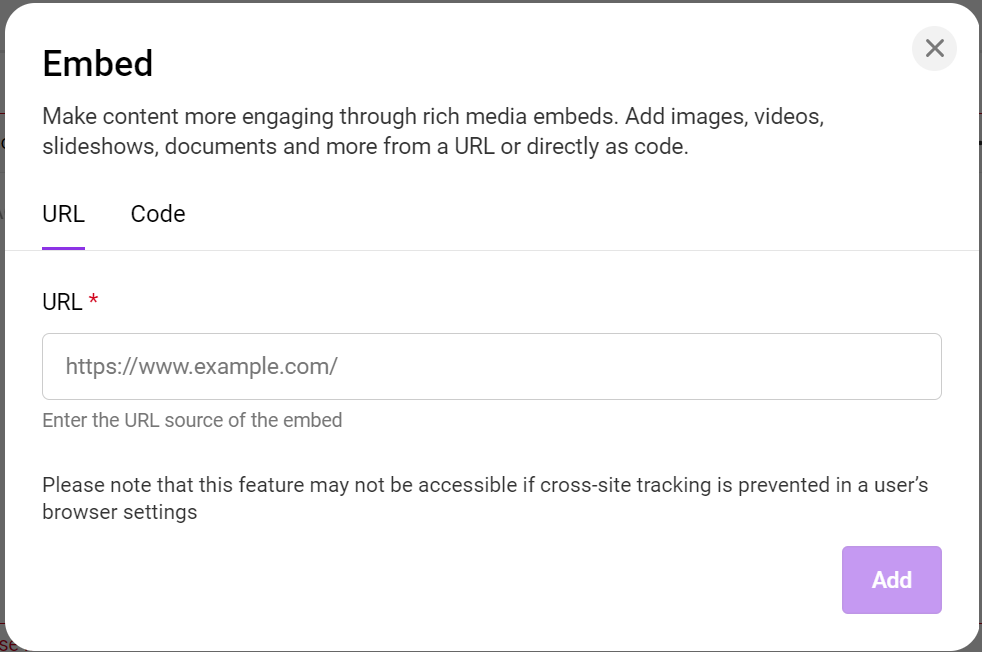
In the text editor, you can embed the following types of URLs:
-
Links: These URLs are public facing and do not need any form of logging in to view (for example https://www.simpplr.com/blog/). Click the link icon to insert a hyperlink. The Text field will be what the user sees, then the Link field is where you'll insert the link. Note that you're able to add both mailto and tel tags to your links.
- Google Forms/Docs/Sheets/Slides: These documents can be embedded by both URLs and iframes after publishing. Users need to be logged in to the source location in order to embed and view these documents in Simpplr.
- Microsoft Docs/Slides/Sheets: These documents can be embedded by iframes only.
- Video: Videos from popular video sharing platforms like Youtube and Vimeo (e.g. https://vimeo.com/524933864) can be embedded using their URL.
- Images: Most publicly accessible images can be embedded via URL.
Note:
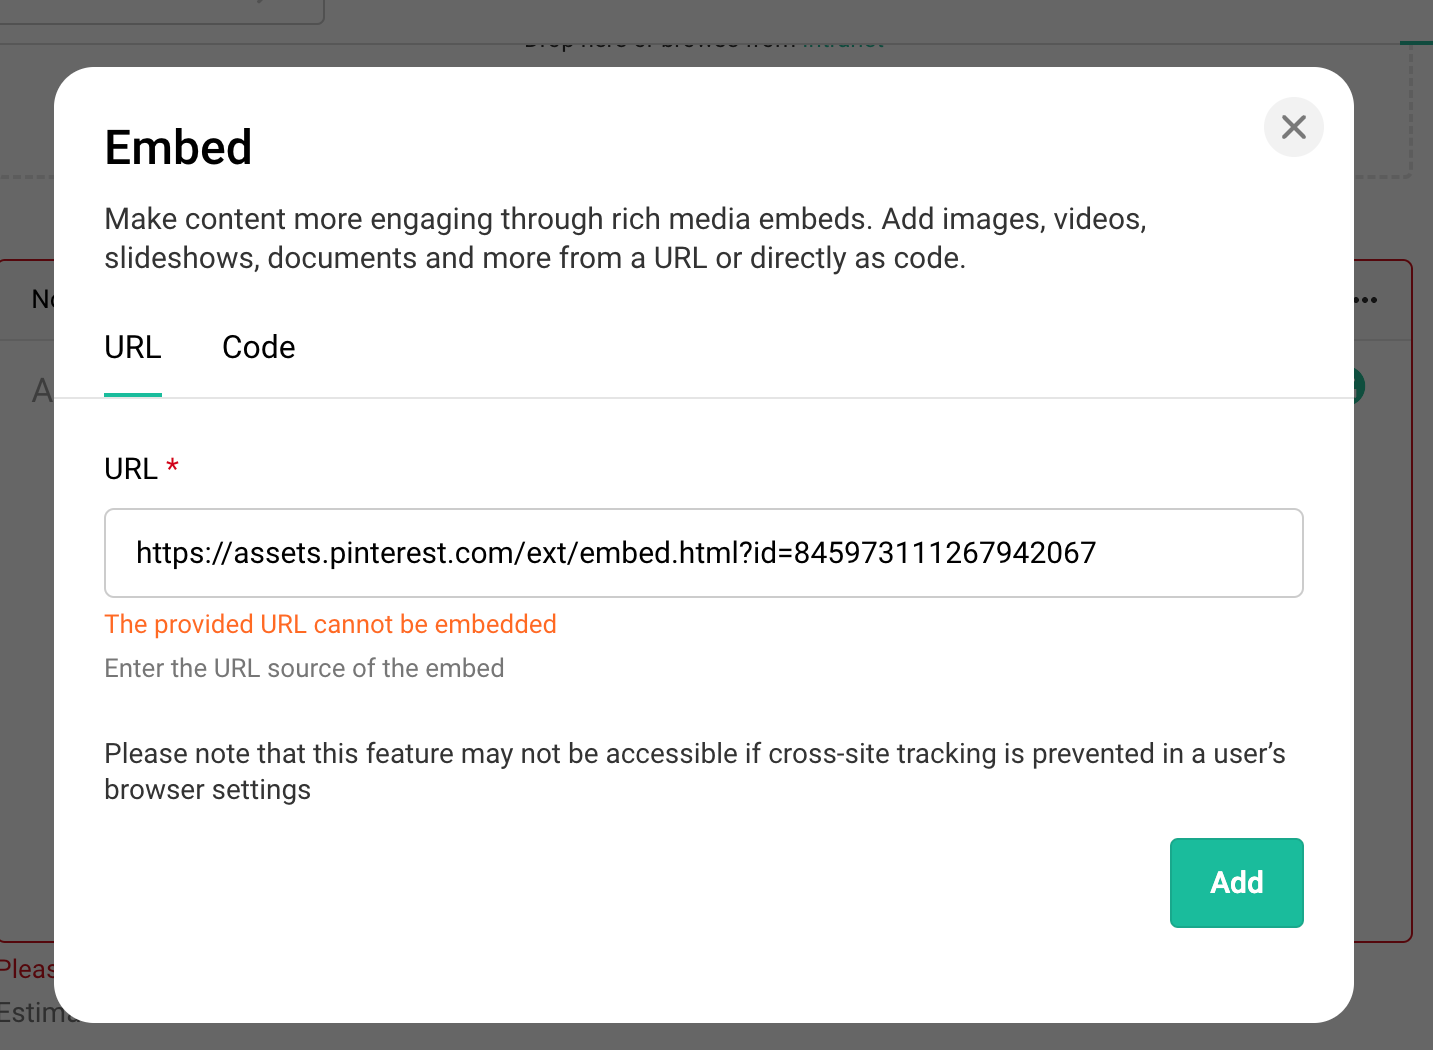
While the majority of public URLs can be embedded, some exceptions do exist. The following error message will be displayed if a public URL cannot be embedded:The provided URL cannot be embedded.
Embed via iframes
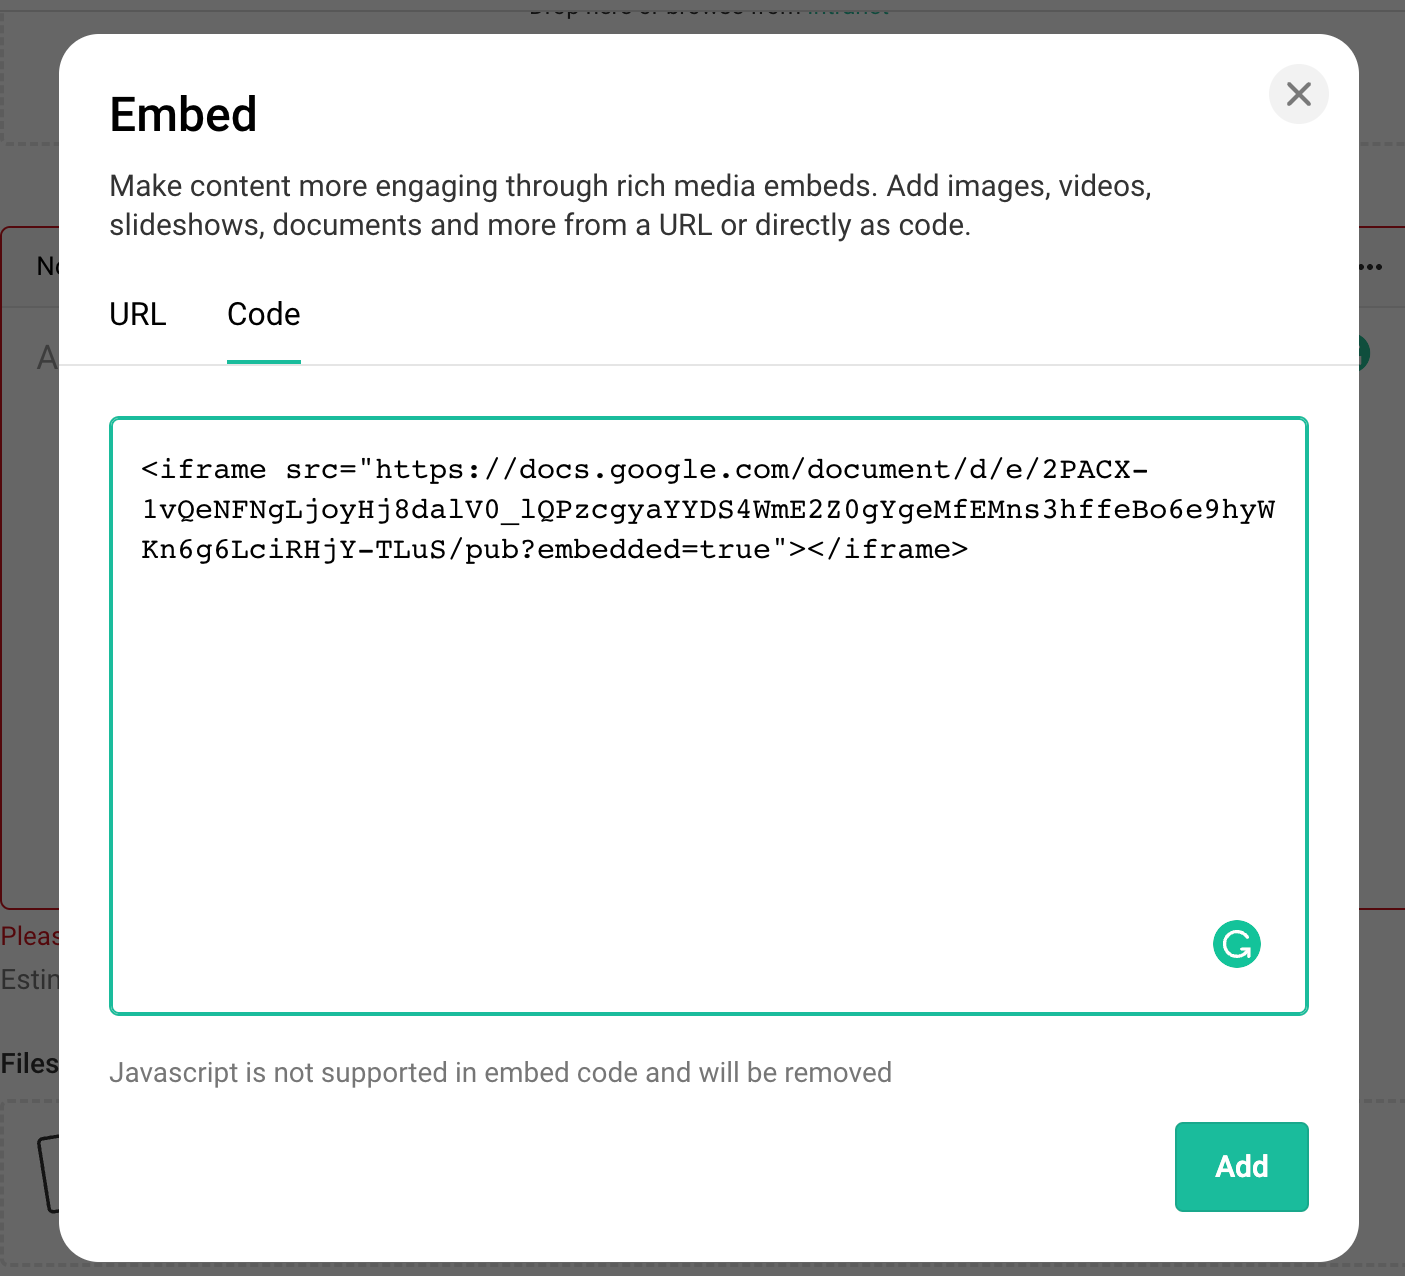
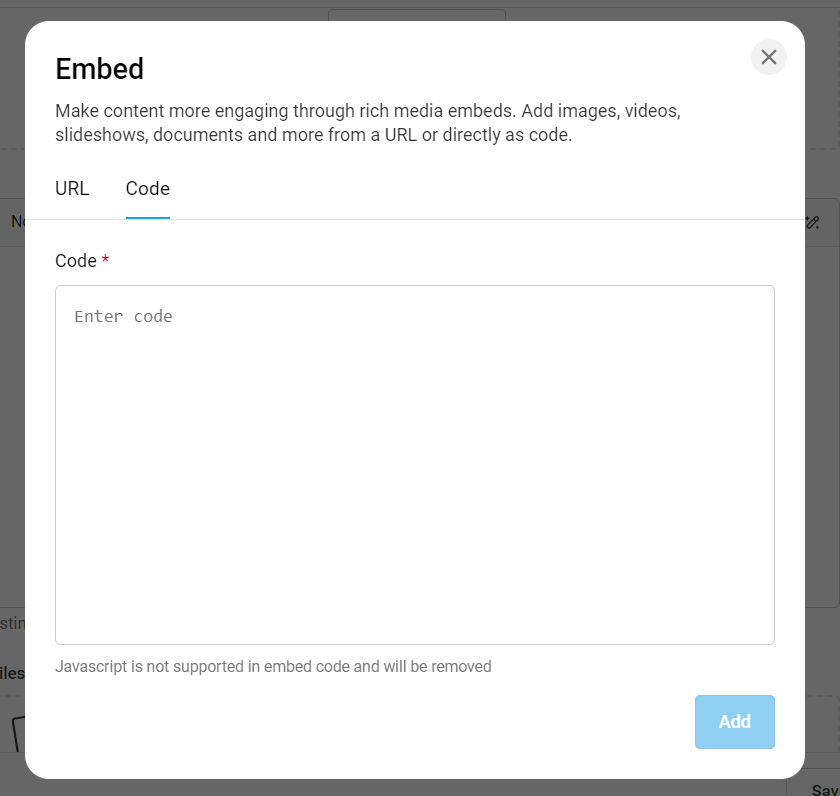
The majority of embeddable resources offer embeddable iframes, including Google Forms, Sheets, Docs, Vimeo, YouTube, and Codepen. By including the iframe embed code in the code tab, you can embed them.
Note:
Google Docs can only be accessed while the user is signed into their Google account in the active browser session, or they’ll see the following error message. You'll also want to make sure your browser is allowing access to 3rd party cookies: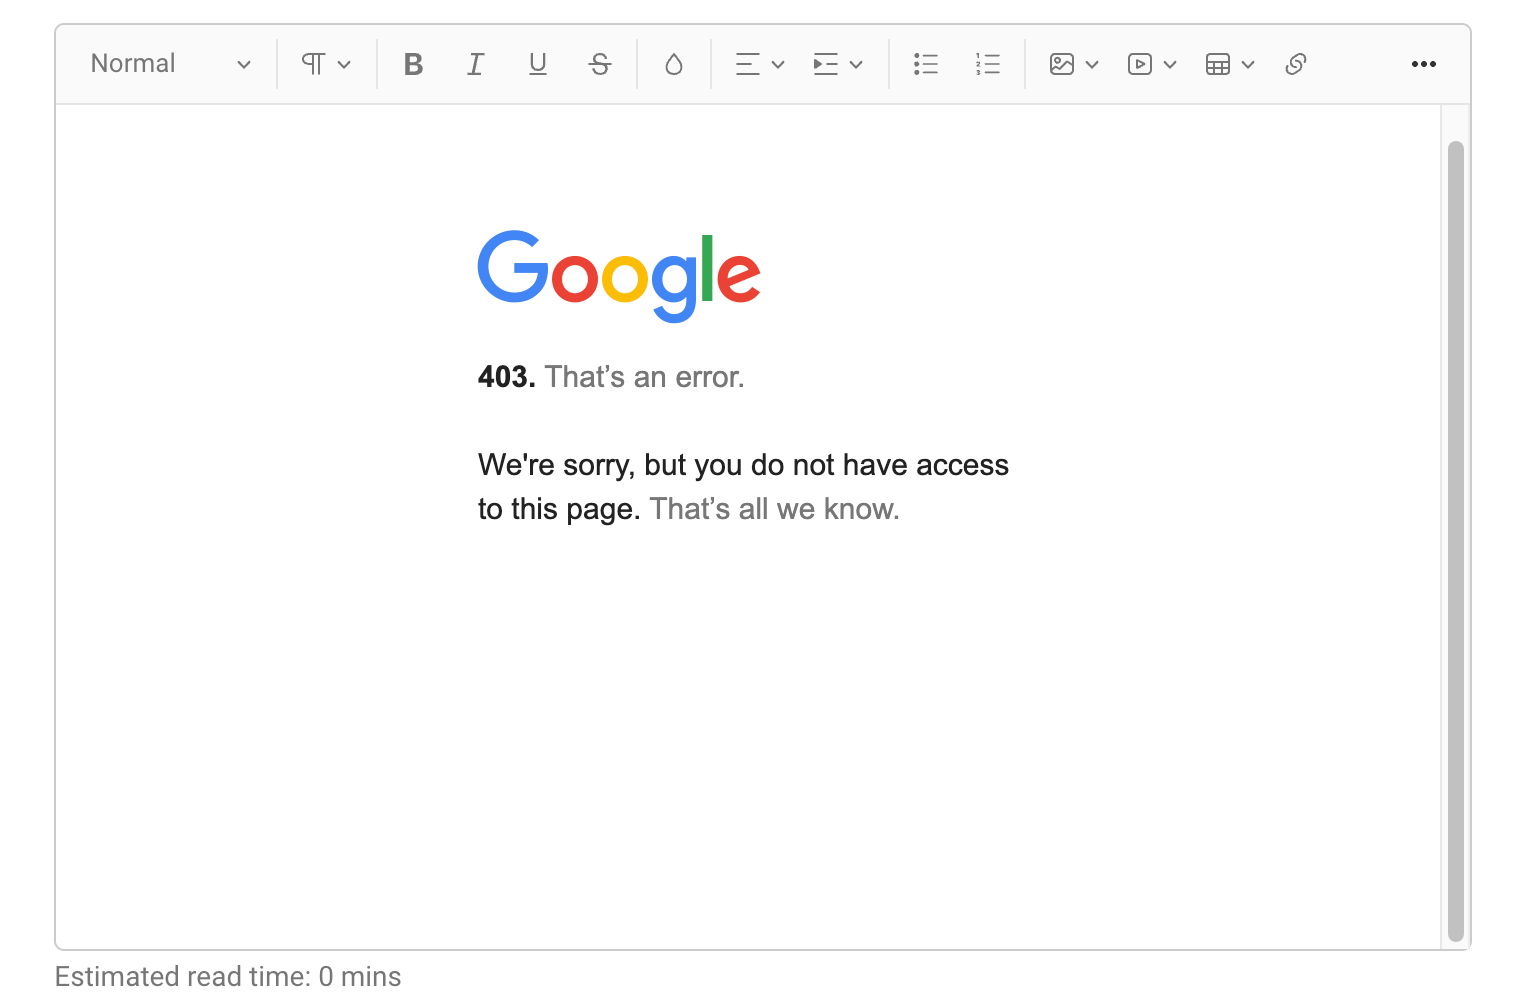
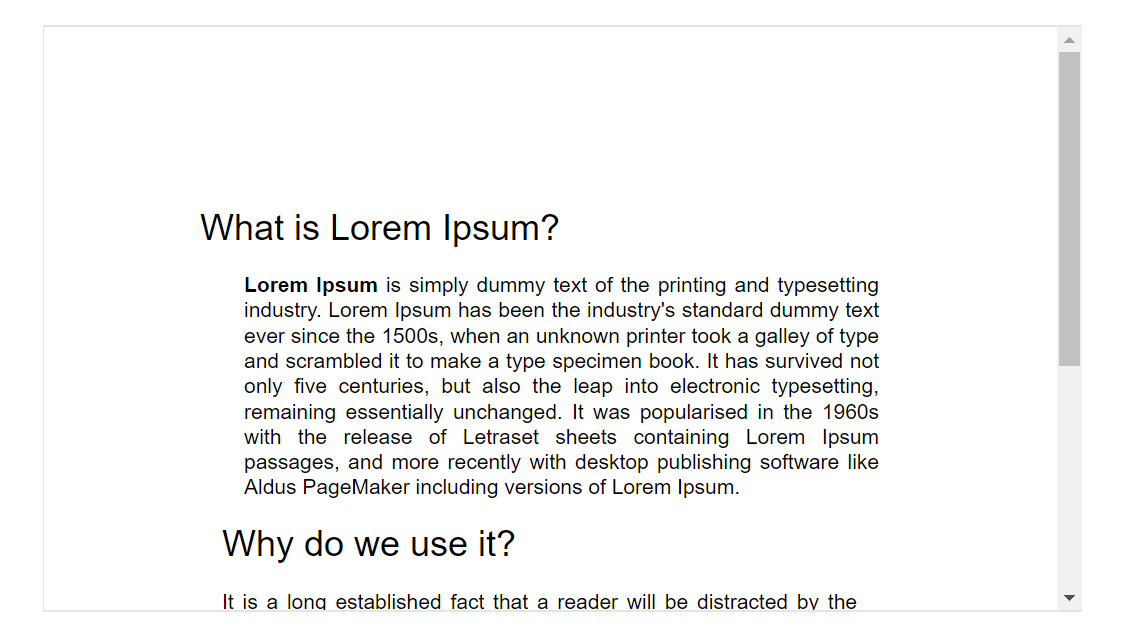
Once the user has logged in, the embedded form will display properly:
Custom HTML
Feel free to watch this and the rest of the videos at 1.5x speed!
- Custom HTML code can be embedded using the code tab in the embed block. The inline style attribute allows for styling.
- <script>, <head>, and <HTML> tags are sanitized to avoid security risks. iframe srcdoc attributes are removed from the code editor as well.
Custom HTML - Best practices
- Content added via embed block is always mutually exclusive from the content added via the content editor, meaning they’re read as two different entities.
- When a user adds content using an embed block, that content can only be changed using the embed block.
- Copying and pasting all text into the embed block and making changes there is best practice when you want to customize the code for your content.

- Inside the embed block, we cannot add any features by using editor. In the embed code block, for instance, we won't be able to drag and drop or upload an image. Instead, we must edit the embed block and add any image as an HTML tag.
- Use the down arrow key on your keyboard or click outside the embed block to exit and access the editor.
- If the embed block is at the top of the page's body and you want to move it down, use the down arrow or enter keys in the editor to select it.
- To prevent security issues, javascript is not permitted in this.
Examples
Custom HTML
Table code:
<table>
  <tr>
    <th>Company</th>
    <th>Contact</th>
    <th>Country</th>
  </tr>
  <tr>
    <td>Alfreds Futterkiste</td>
    <td>Maria Anders</td>
    <td>Germany</td>
  </tr>
  <tr>
    <td>Centro comercial Moctezuma</td>
    <td>Francisco Chang</td>
    <td>Mexico</td>
  </tr>
  <tr>
    <td>Ernst Handel</td>
    <td>Roland Mendel</td>
    <td>Austria</td>
  </tr>
  <tr>
    <td>Island Trading</td>
    <td>Helen Bennett</td>
    <td>UK</td>
  </tr>
  <tr>
    <td>Laughing Bacchus Winecellars</td>
    <td>Yoshi Tannamuri</td>
<td>Canada</td>
</tr>
</table>
Output:

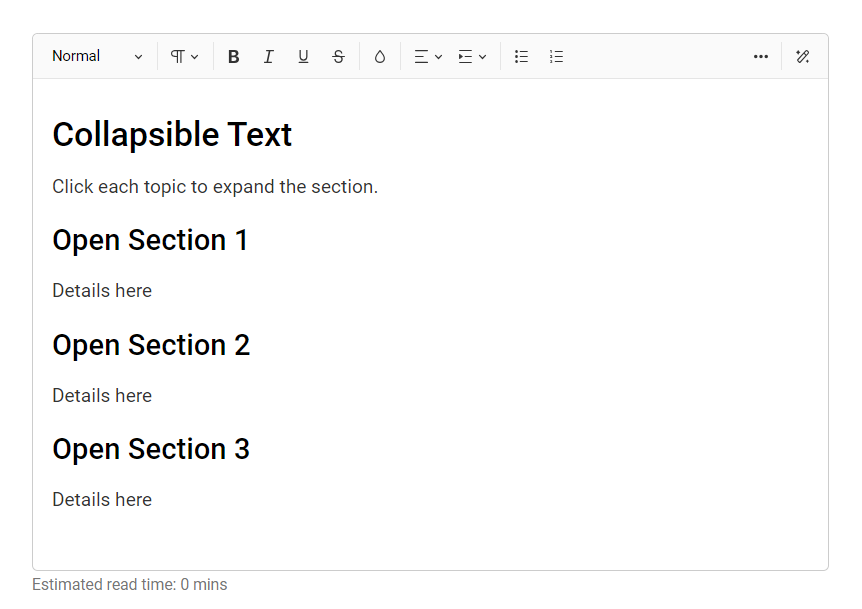
Collapsible text
Here is an example of HTML to add collapsible content. Copy and paste the code below into your own content, then fill in the text with your own summary and details.
<h2>Collapsible Text. Add Your Title Here</h2>

<p>Click each topic to expand the section. Add your summary here</p>


<details>
 <summary>
<h3 style=”cursor:pointer”>Open Section 1</h3>
  </summary>
 <p>Details here</p>
</details>
<details>
 <summary>

<h3 style=”cursor:pointer”>Open Section 2</h3>
</summary>
 <p>Details here</p>
</details>
<details>
 <summary>

<h3 style=”cursor:pointer”>Open Section 3</h3>
</summary> <p>Details here</p>

</details>
Output will look like this:
Collapsed:

Expanded:
Anchoring
We must add the particular block via embed, then an id to it in order to anchor to a specific section of the content.
- Using the embed block, add a destination heading or paragraph.
- The heading or paragraph should have an HTML id (see image below).
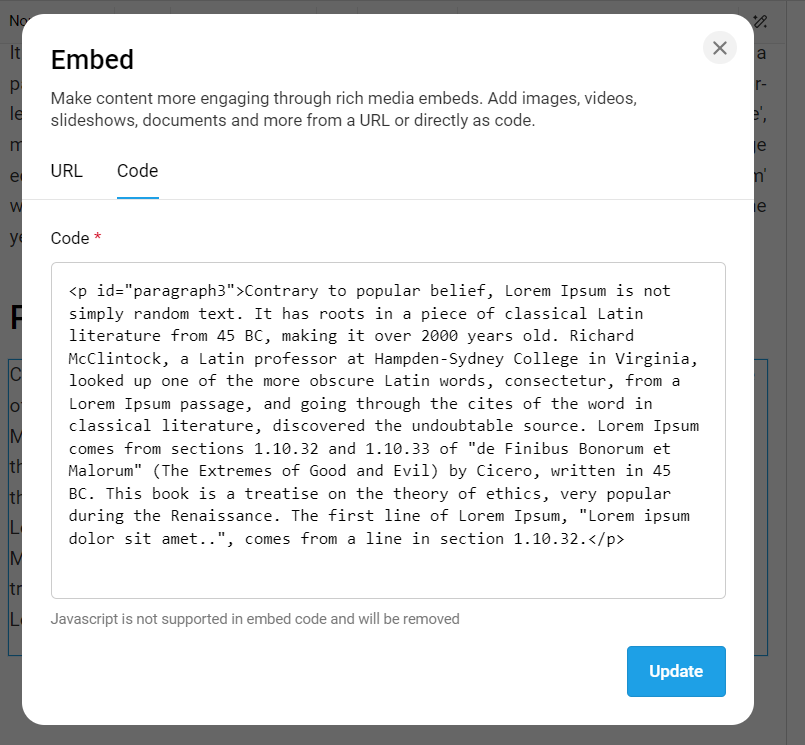
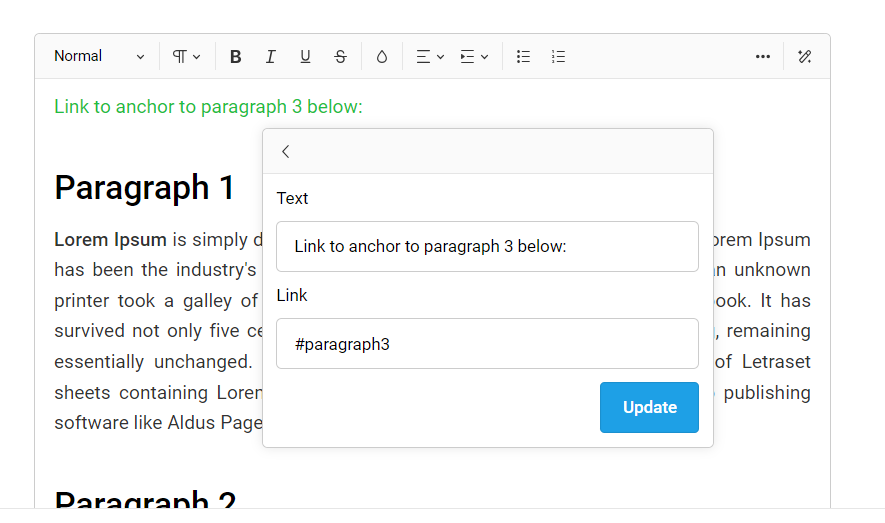
- Add a link using the link option in the editor and URL as #id of the paragraph or heading.
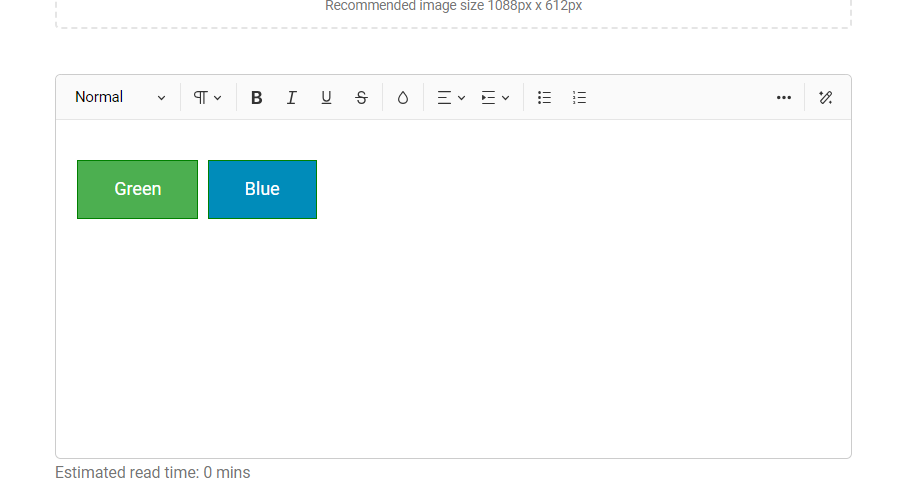
Buttons
Use the sample HTML below to add buttons. Adjust the colors in the code as needed (i.e., replace #4CAF50 with Red or any hex code for your company's branding if you want to change the background color).
<button style="color:white;border:1px solid green;padding:15px 32px;text-align:center;font-size:16px;margin:4px 2px;cursor:pointer;background-color:#4CAF50;text-decoration:none;display:inline-block">Green</button>

<button style="color:white;border:1px solid green;padding:15px 32px;text-align:center;font-size:16px;margin:4px 2px;cursor:pointer;background-color:#008CBA;text-decoration:none;display:inline-block">Blue</button>
Output will look like this:
Phone number
Use the sample HTML to add a link to dial a phone number:
<p><a href="tel:+15551234567"> ☎ (555)-123-4567</a></p>
Output will look like this:

Comments
Please sign in to leave a comment.